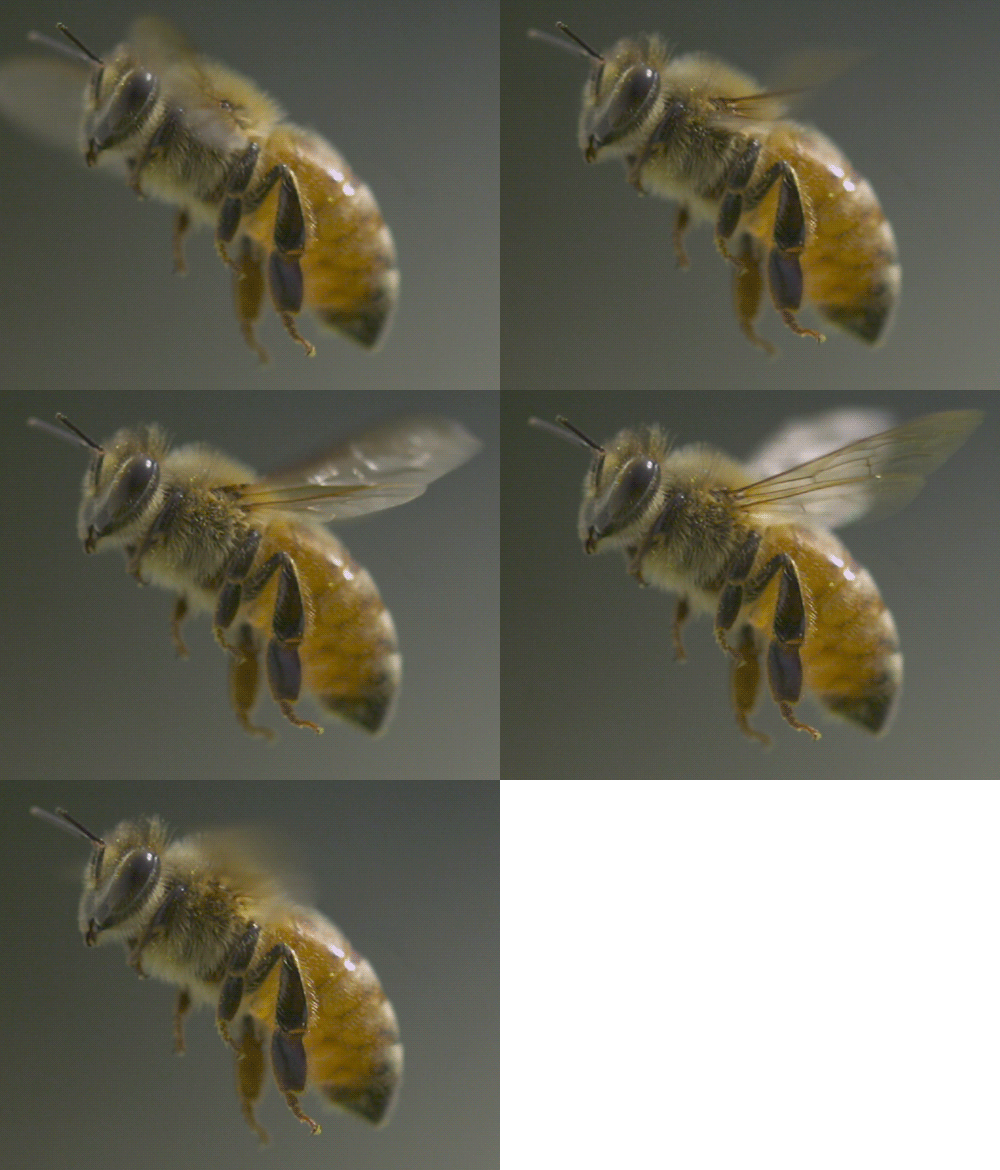
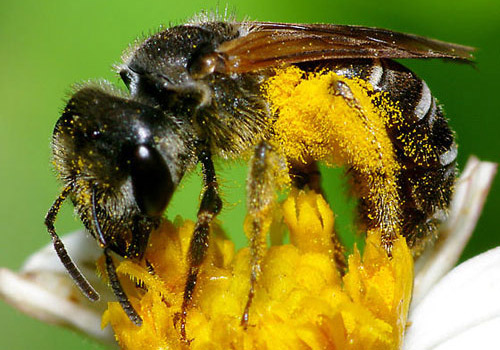
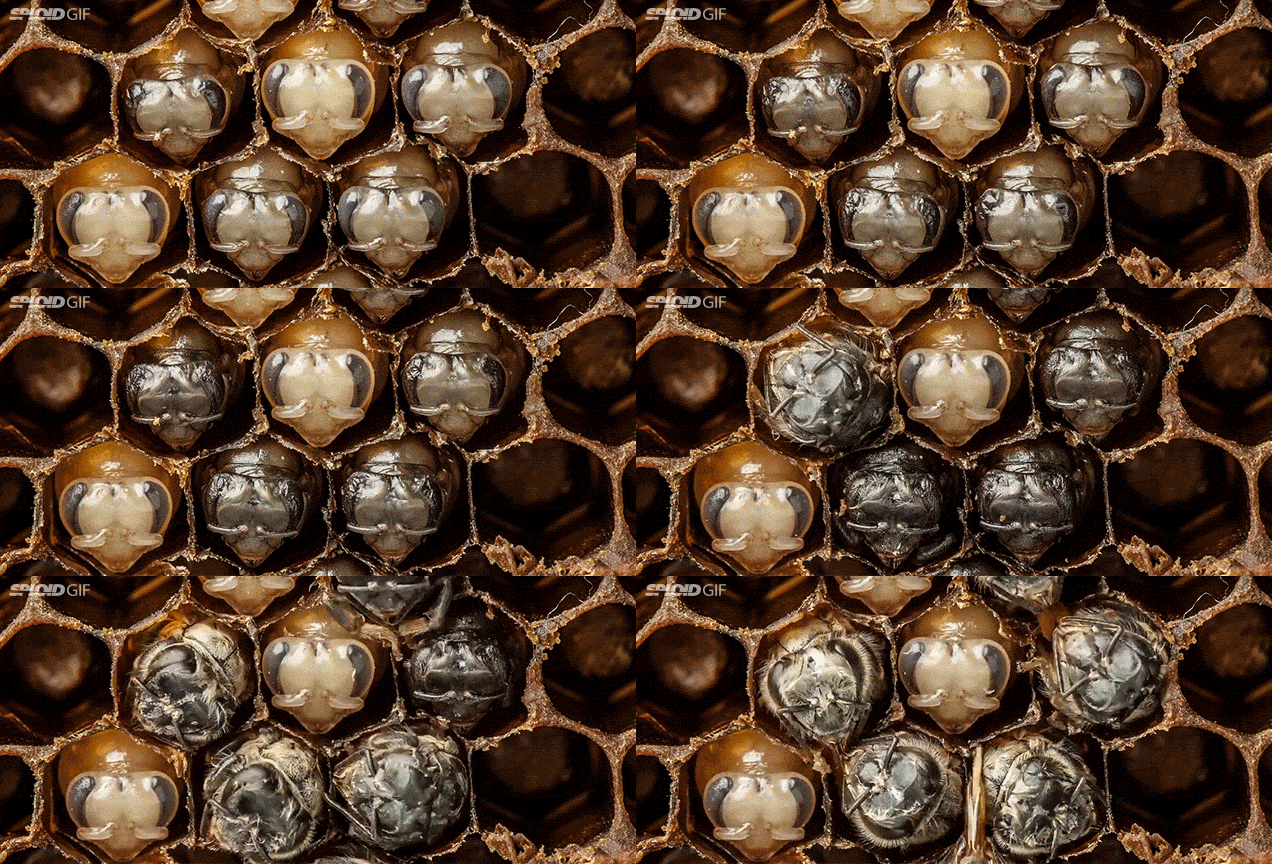
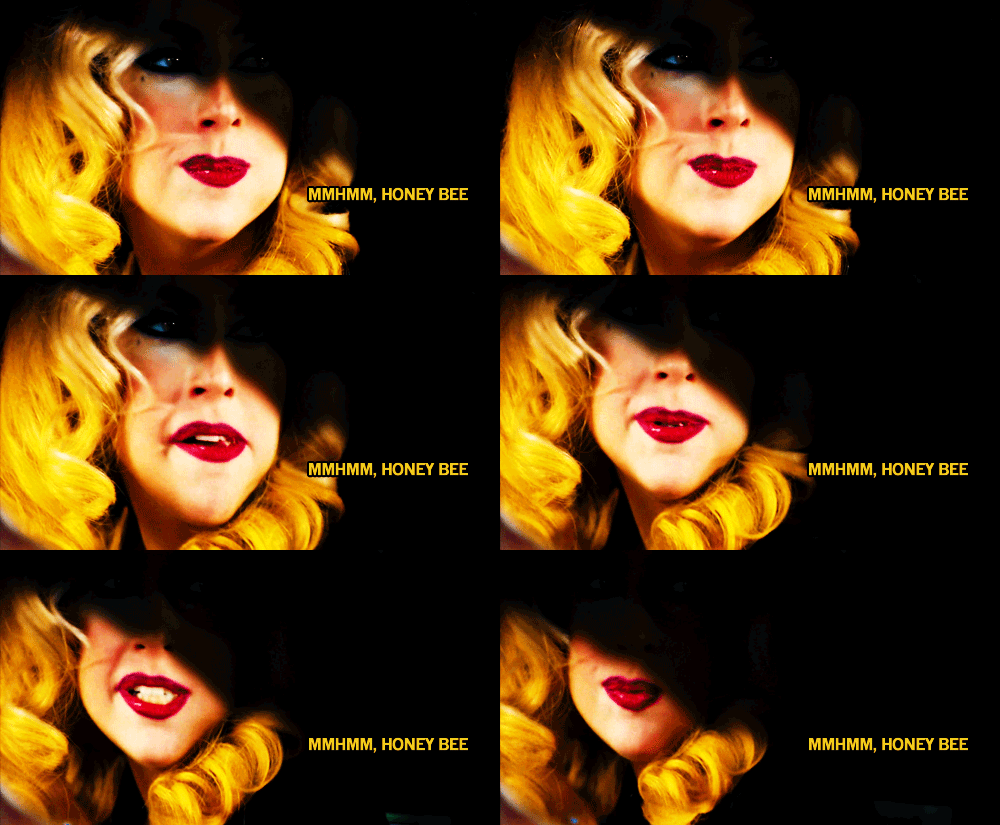
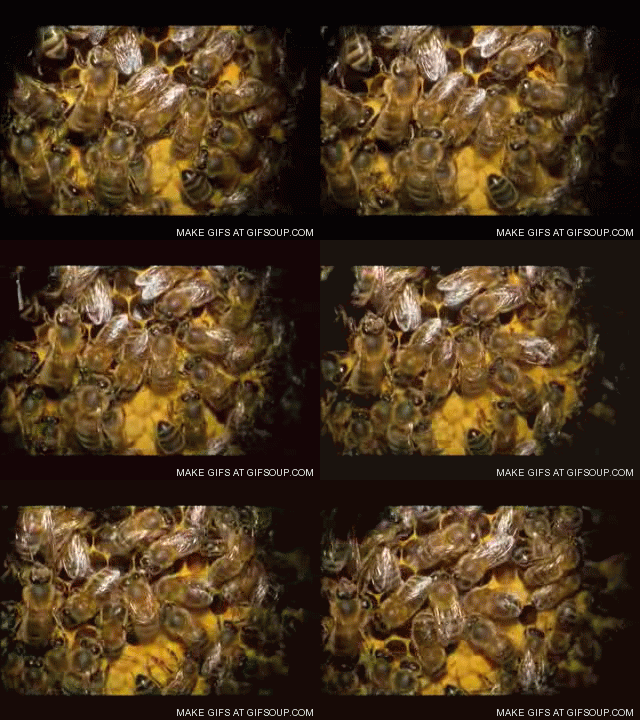
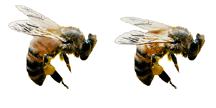
World Honey Bee Day, previously known as Honey Bee Awareness Day, is an idea put together by beekeepers in the USA, who petitioned the USDA in 2009 for an official day to honor honey bees and beekeeping. A few years down the line, people across the globe are holding a date of observation every year.
Honey Bee awareness enthusiasts will likely put a bee in your bonnet and say this is not so much a day to celebrate honey bees, as it is to promote their involvement in sustainable farming.
On this day, bee lovers everywhere decorate their gardens with lavender, borage and marjoram, the bee’s knees in pollinator lures. If you have the time and patience, bake some honey chippers and make your own honey fruit cobbler. And because you’ve been as busy as a bee all day, sit back and watch Hitchcock’s ‘The Bees’. You’ll count your blessings honey bees are nothing like South American killer bees!
Word of the Day
| |||
| Definition: | (noun) A shabbily clothed, dirty child. | ||
| Synonyms: | tatterdemalion | ||
| Usage: | The wealthy bachelor had pity on the ragamuffin and handed him a wad of bills, instructing him to buy himself dinner and a new coat. | ||
Idiom of the Day
the Greek calends— A time that is expected to never arrive or occur. (Used after a preposition, especially "at," "on," or "till.") A reference to the day of the new moon and the first day of the month in the ancient Roman calendar, which the Greeks did not observe. |

History
Jöns Jacob Berzelius (1779)
Regarded as one of the founders of modern chemistry, Berzelius was a Swedish professor who achieved an immensely important series of innovations and discoveries. He developed chemistry's modern system of symbols and formulas, prepared a remarkably precise table of atomic weights, analyzed numerous chemical compounds, and discovered the elements selenium, thorium, and cerium.
Santa Fe Indian Market
This showplace for traditional and contemporary American Indian art is held on the Plaza of Santa Fe, New Mexico. The market is the oldest and largest juried competition among Native American artists. Today, more than 800 artists enter the competition, largely from the 19 New Mexico pueblos and the Apache, Navajo, Hopi, and Ute tribes of the Southwest. Besides the booths of art works, there are numerous food booths, offering such specialties as green chile on fried bread, and there are Native American dances performed at the courtyard of the Palace of the Governors.
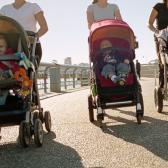
Thousands of Children Injured by Strollers and Carriers Every Year, Study Finds
Thousands of young children head to the emergency room every year because of injuries associated with strollers and baby carriers, according to a new study published today in the journal Academic Pediatrics.READ MORE:
1866 - The National Labor Union in the U.S. advocated an eight-hour workday.
1882 - Tchaikovsky's "1812 Overture" debuted in Moscow.
1885 - "The Mikado", by Gilbert and Sullivan, opened at the Fifth Avenue Theatre in New York City.
1939 - The National Bowling Association was founded in Detroit, MI. It was the first bowling association in the U.S.for African-Americans.
1960 - Connie Francis begins working on the film "Where the Boys Are."
1965 - The Rolling Stones single "(I Can't Get No) Satisfaction" was released in the U.S.
1967 - The New York Times reported about a noise reduction system for album and tape recording developed by technicians R. and D.W. Dolby. Elektra Record's subsidiary, Checkmate Records became the first label to use the new Dolby process in its recordings.
1977 - Voyager 2 was launched by the United States. The spacecraft was carrying a 12 inch copper phonograph record containing greetings in dozens of languages, samples of music and sounds of nature.
1985 - The original Xerox 914 copier was presented to the Smithsonian Institution's Museum of American History. Chester Carlson was the man who invented the machine.
1997 - Alabama Governor Fob James joined the mayors of Montgomery and Georgina, AL, in the Alabama State Capitol to dedicate a 50-mile stretch of Interstate 65 to the memory of Hank Williams. The section of roadway was renamed the "Hank Williams Memorial Lost Highway."

DAILY SQU-EEK


Pictures of the day

A dorsal view of Morpho didius, a Neotropical butterfly belonging to the subfamily Morphinae of family Nymphalidae. With a wingspan reaching 150 mm (5.9 in), it is one of the largest of Morpho species.

Stars and Storms in Kansas, Finland
knit
knit
knit
knit
knit
crochet
crochet
crochet
crochet
crochet

RECIPE

CROCKPOT RECIPE
chicken cacciatore

SWEETS
Chocolate Mayonnaise Cake


ADULT COLORING

An owl

CRAFTS
Creative Baby Shower Quilt Activity
dollarstorecrafts
Looking for a great baby shower activity that is fun and creative? Create a special keepsake gift for a special new baby with this fun and adorable baby shower activity: a Keepsake Quilt! Special friends and family each make a single quilt block while they are at the baby shower, and then the blocks are later assembled into a beautiful quilt that is sure to be well-loved by baby.
It turned out so cute! Let me show you how to make it, step by step...
It turned out so cute! Let me show you how to make it, step by step...
Personalized keepsakes are such a special gift for a new baby and her parents. What better special occasion for a keepsake quilt than welcoming a new baby to the world?
I wracked my brain for a creative activity for my sister-in-law's baby shower, but I wanted to create a keepsake object that would be really useful. I have seen custom baby onesies as a baby shower party activity, but I wanted to make sure this keepsake gift would be used and loved. I decided to have the baby shower guests each create a custom quilt block to be added to a special baby quilt.
I wracked my brain for a creative activity for my sister-in-law's baby shower, but I wanted to create a keepsake object that would be really useful. I have seen custom baby onesies as a baby shower party activity, but I wanted to make sure this keepsake gift would be used and loved. I decided to have the baby shower guests each create a custom quilt block to be added to a special baby quilt.
Supplies Needed:
- Fabric Markers (I recommend Tulip Fabric Markers)
- 9x9" block for each guest, cut from good quality white cotton fabric
- Freezer Paper
- 1/2" Masking tape
- Scissors or Rotary Cutter & Mat
- (Optional) Quilt Square Template
- Sewing Machine and Thread
- Additional materials needed to complete the quilt
Before the Party:
You will need to prepare the quilt blocks for guests to draw on. By itself, fabric is too floppy and flimsy to write on without frustration, so I came up with a great way to temporarily stabilize the blocks: with Freezer Paper.
Freezer paper is waxed on only one side (and paper on the other side), so you can iron it on to fabric to stiffen and stabilize it temporarily. When you're finished, the freezer paper easily peels off. You can find freezer paper in the food packaging section at your local grocery store, or online.
It's easiest and most exact to cut with a rotary cutter and mat, and a quilt square template will make the job even easier, but you can also cut the squares with scissors and a measuring tape.
Ironing the Freezer Paper to the Fabric:
Iron sheets of freezer paper to the fabric before you cut the fabric into blocks. Heat your iron to a medium setting (no steam), and place the freezer paper waxed side down onto the fabric. Run your iron over the freezer paper to gently adhere it to the fabric.
Once you've ironed freezer paper to your large piece of fabric, Cut the fabric into 9" strips, and then cut those strips down into 9x9" blocks, leaving the freezer paper on the blocks. Tape 1/2" masking tape to all four edges of each block as well, to allow for a seam allowance for sewing (so guests know to keep their drawings inside the square).
NOTE: Adjust the size of the blocks, depending on the number of baby shower guests. We made 32 blocks, which allowed 16 blocks for each side of the quilt.
Setting Up the Activity Table:
Devote a card table (or larger) to this activity, and let people work on their blocks as the baby shower progresses.
Put your stack of prepared quilt blocks, fabric markers, and and instruction sheet on the table. If you have a theme or inspiration art, include it on the table as well (this can help guests who are nervous about exercising their creativity!)
Put your stack of prepared quilt blocks, fabric markers, and and instruction sheet on the table. If you have a theme or inspiration art, include it on the table as well (this can help guests who are nervous about exercising their creativity!)
Instruction Sheet and Sample Block:
Provide a brief instruction diagram. Guests need to leave 1/2" empty around the edge of the blocks to allow for sewing (and you don't want their cool art to get cut off). I highly recommend you take the time to put 1/2" masking tape around the edge of each block. I didn't do this, and I regretted it when it came time to sew the blocks into a quilt.
Make sure each guest signs his or her block.
Decorate the first block to serve as an example.
Make sure each guest signs his or her block.
Decorate the first block to serve as an example.
During the Activity:
It is helpful to stay at the table and explain the activity, but it's not necessary. If you have prepared the blocks and provided an instruction sheet, your guests will figure it out!
Make sure the most important guests make a block - grandmas, aunts, etc. It's also important to have each guest sign her block.
If guests don't feel comfortable drawing pictures, they can write their well-wishes, a blessing, Bible verse, etc.
Make sure the most important guests make a block - grandmas, aunts, etc. It's also important to have each guest sign her block.
If guests don't feel comfortable drawing pictures, they can write their well-wishes, a blessing, Bible verse, etc.
After the Activity:
Remove the masking tape from the front of the block, and peel the fabric off of the freezer paper backing.
If you cut the squares with scissors, you will need to double-check the quilt block measurements and make sure they are all the same size. If they are not, you will need to trim them all to the exact same measurement.
If you cut the squares with scissors, you will need to double-check the quilt block measurements and make sure they are all the same size. If they are not, you will need to trim them all to the exact same measurement.
Assembling the Quilt:
There are many ways to assemble a quilt, and I'll leave that design choice to you - you will have to do a little research to figure out how you want your quilt blocks to be put together.
What I did: I sewed fabric sashing between the blocks to frame them, then I laid the blocks out on a table to determine the placement I wanted.
I then sewed the blocks together in rows, then added a horizontal row of sashing, then sewed the rows together.
For a very simple method for assembling the final quilt (once the blocks are sewn together into a quilt top), see my tutorial for How to Make a Doll Blanket. The principle for assembling this baby quilt is the same, just slightly larger!
Because our blocks were large and we had so many baby shower guests, we ended up putting the decorative blocks on both sides of the quilt, which is pretty unusual!
If you want to have blocks on only one side (like a traditional quilt), do the math to figure out what size you want your final quilt to be, and how many guests will be decorating a block. Adjust the quilt block size accordingly.
If you want to have blocks on only one side (like a traditional quilt), do the math to figure out what size you want your final quilt to be, and how many guests will be decorating a block. Adjust the quilt block size accordingly.
I love how this quilt turned out, and the new baby's mother and father were just as excited to have a keepsake quilt made lovingly by their family and friends. I'm sure the baby will treasure the blankie as well.

CHILDREN'S CORNER ... craft
thanks for inventing this great winter kid's mobile, susan, and sharing it so we can get in on
the pool noodle sales that are everywhere now!
WINTER FUN
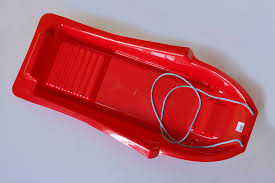
1. get your sled which is similar to this:
2. take two pool noodles, cut them in half the long way (there's a hole down the center making this easy)
3. you can either allow them to stay long or cut into same sized pieces that look like 'blades,' hot glue them (cut side up) to the bottom of the sled.
4. with the round side facing down, you have now developed a snow sled with skies.
PUZZLE

QUOTE


CLEVER

EYE OPENER
even if i had to guess at a few, i got them all correct until we hit the 00's ..
guess i dont watch a lot of shows outside of pbs these days








No comments:
Post a Comment